The Shipwrightizator
Posted: Sun Aug 23, 2009 7:31 am
I cheated with my Mecha-SW pack.
Back when i was doing the first few, entirely by hand, it occured to me:
"By golly, this is something a trained Crab-eating Macaque specimen could do. Kaelis, you handsome chap, you are not a trained monkey, you are a cucumber! Would it be possible to write a script that automates certain parts of the process?"
Fast forward by fifteen minutes of thinking, an hour of coding, and two hours of staring blankly at the screen in startled realization ("It works. It shouldnt work. Why does it work?!"). The Shipwrightizator was born.
http://blaise-studio.com/kaelis/bsf/Shi ... or_v02.rar
Instructions
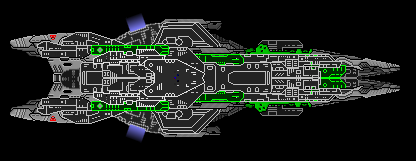
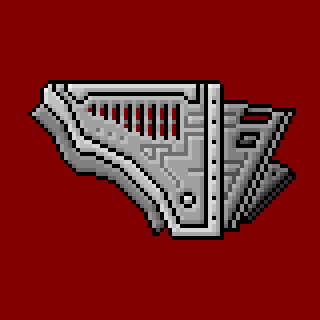
"What is this infernal contraption!", you ask. The Shipwrightizator, my valued wyrdysmite, is an instrument which automagically shades sections, from this to this. And heres how you are supposed to use it:
1. Follow The Inverted Section Tutorial up to step 2, then add the detail lines from the step 4, but without any shading/highlighting, just the lines. An example of how it should look like: LINK
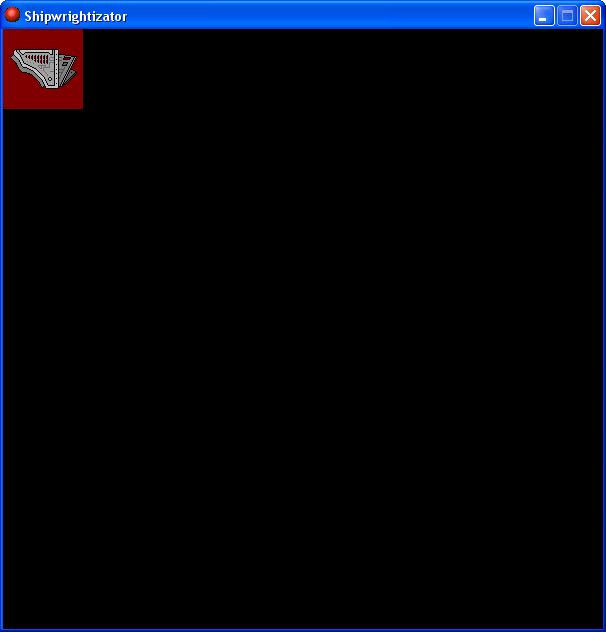
2. Open up the Shipwrightizator. You will be greeted with the following screen: LINK
3. Now press O to open the sprite you did in step 1. LINK
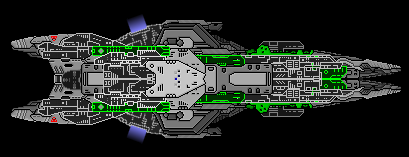
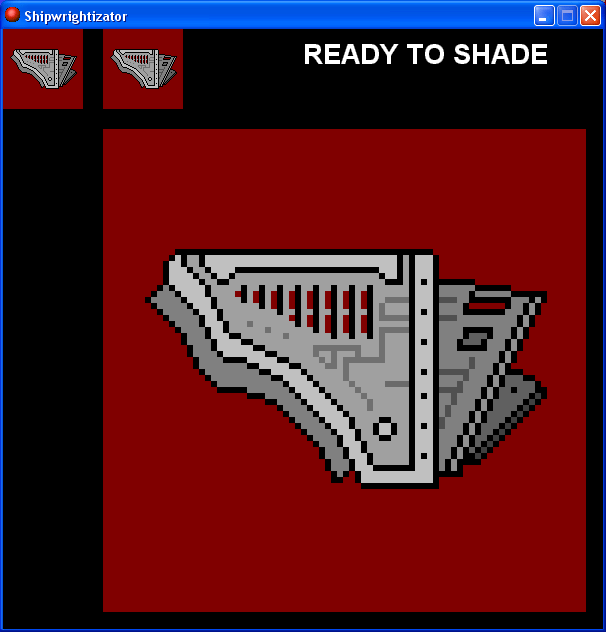
4. Press space once. This will load the bitmap data into memory. Since this aspect of GM is notoriously slow, it might take a few seconds, so be patient. Once its done, youll see this: LINK
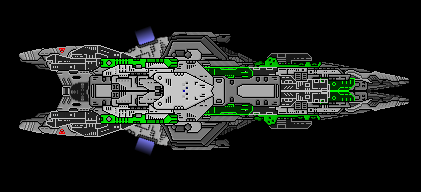
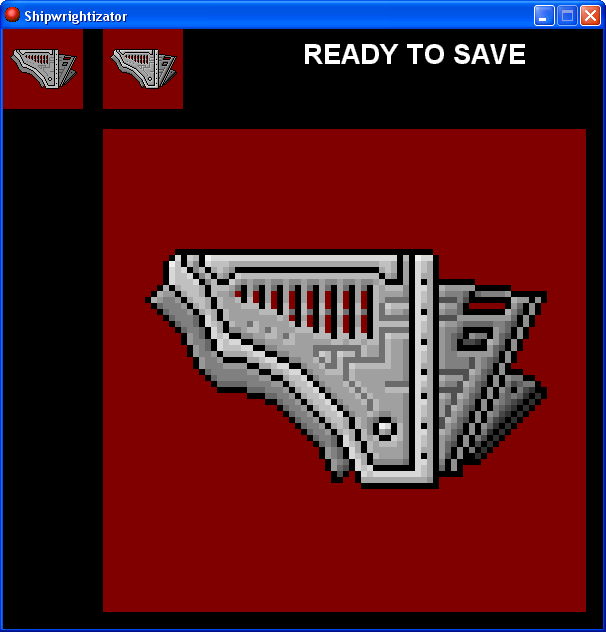
5. Next press space again. This will shade your sprite, and you will get a preview: LINK
6. Now you can press S to save the result. It will appear as 'output.bmp' in the same directory as the Shipwrightizator. Example output: LINK
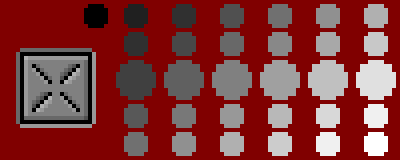
There are certain rules on what colors you can use. Heres my palette/shading guide, for convenience: LINK
The six biggest circles are the main shades of gray you must use:
64,64,64
96,96,96
128,128,128
160,160,160
192,192,192
224,224,224
The rest is for shading/highlighting.
Main lines must be pure black 0,0,0 , and the background color is 128,0,0.
For the detail lines, you can use any color other than background and main line colors, as long as its darker than the colors surrounding it.
Mind you, the output is decent, but it isnt perfect. don't expect miracles. It might need tweaking, and as far as im concerned, it still needs a human touch.
Credit goes to TheShipwrightArms, inventor of this style. I salute you, sir!
Back when i was doing the first few, entirely by hand, it occured to me:
"By golly, this is something a trained Crab-eating Macaque specimen could do. Kaelis, you handsome chap, you are not a trained monkey, you are a cucumber! Would it be possible to write a script that automates certain parts of the process?"
Fast forward by fifteen minutes of thinking, an hour of coding, and two hours of staring blankly at the screen in startled realization ("It works. It shouldnt work. Why does it work?!"). The Shipwrightizator was born.
http://blaise-studio.com/kaelis/bsf/Shi ... or_v02.rar
Instructions
"What is this infernal contraption!", you ask. The Shipwrightizator, my valued wyrdysmite, is an instrument which automagically shades sections, from this to this. And heres how you are supposed to use it:
1. Follow The Inverted Section Tutorial up to step 2, then add the detail lines from the step 4, but without any shading/highlighting, just the lines. An example of how it should look like: LINK
2. Open up the Shipwrightizator. You will be greeted with the following screen: LINK
3. Now press O to open the sprite you did in step 1. LINK
4. Press space once. This will load the bitmap data into memory. Since this aspect of GM is notoriously slow, it might take a few seconds, so be patient. Once its done, youll see this: LINK
5. Next press space again. This will shade your sprite, and you will get a preview: LINK
6. Now you can press S to save the result. It will appear as 'output.bmp' in the same directory as the Shipwrightizator. Example output: LINK
There are certain rules on what colors you can use. Heres my palette/shading guide, for convenience: LINK
The six biggest circles are the main shades of gray you must use:
64,64,64
96,96,96
128,128,128
160,160,160
192,192,192
224,224,224
The rest is for shading/highlighting.
Main lines must be pure black 0,0,0 , and the background color is 128,0,0.
For the detail lines, you can use any color other than background and main line colors, as long as its darker than the colors surrounding it.
Mind you, the output is decent, but it isnt perfect. don't expect miracles. It might need tweaking, and as far as im concerned, it still needs a human touch.
Credit goes to TheShipwrightArms, inventor of this style. I salute you, sir!