Battle results for January 8th:
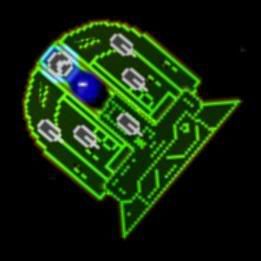
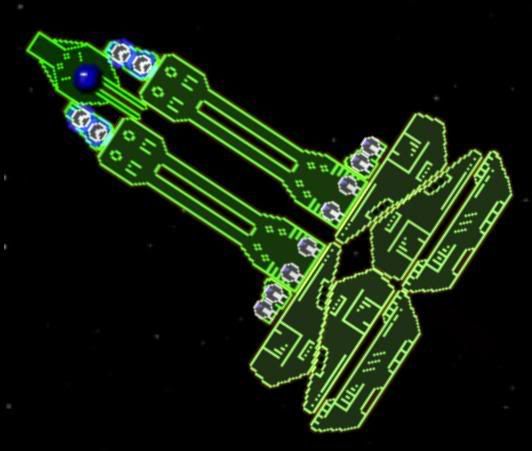
Big Armoured Turd vs Obfuscation III:
Round 1:
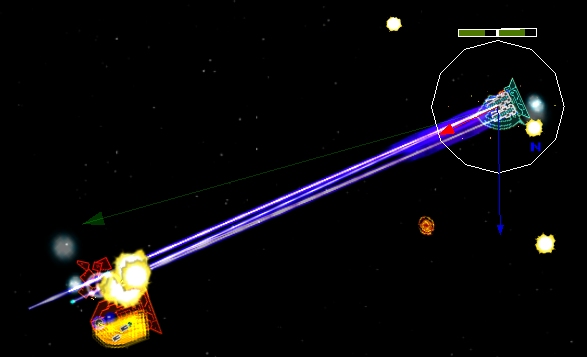
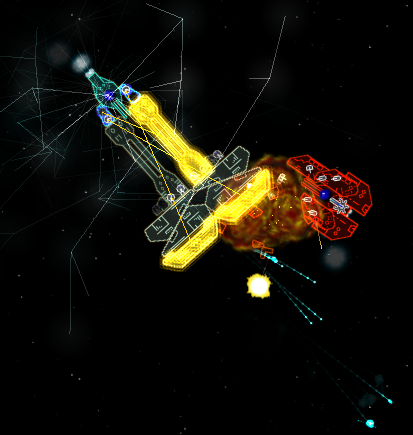
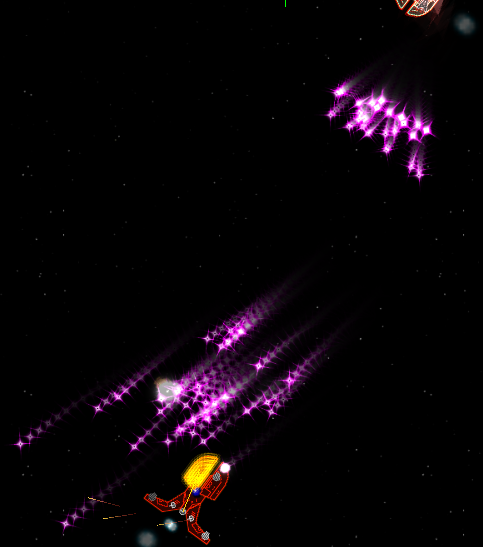
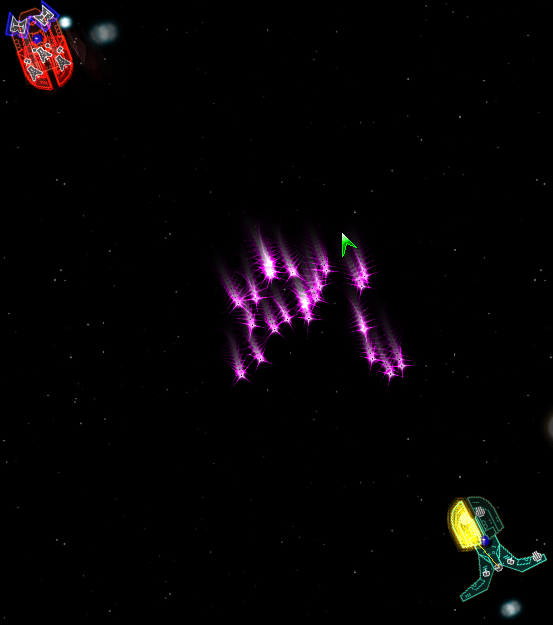
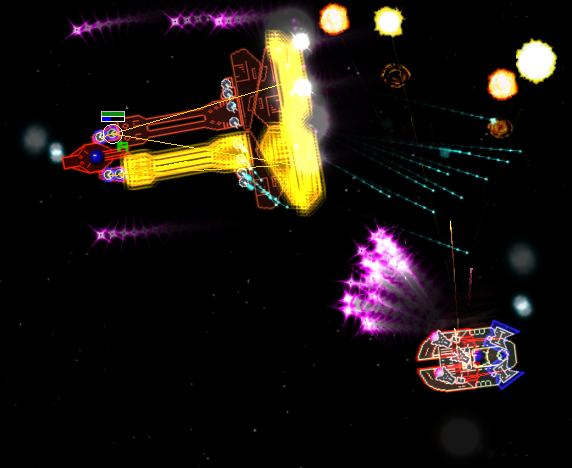
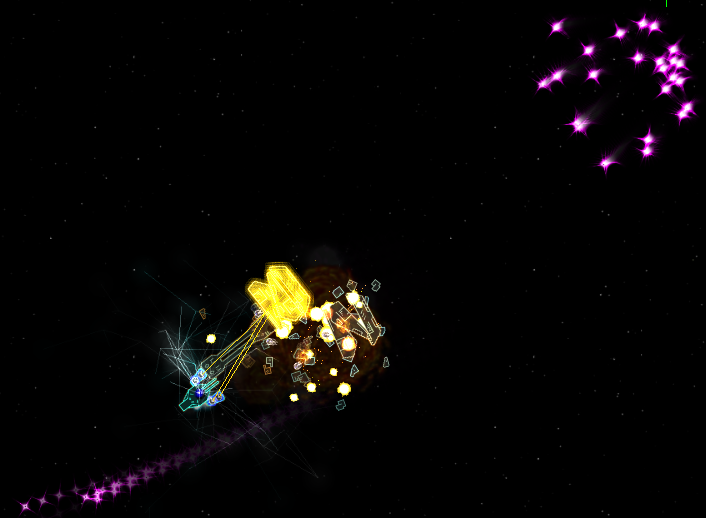
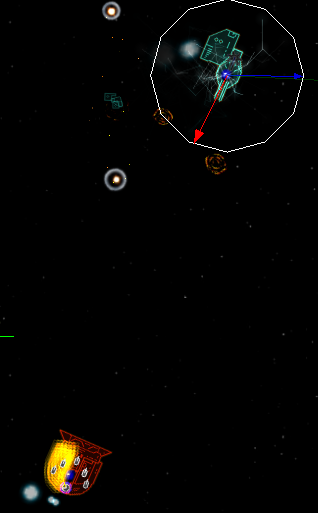
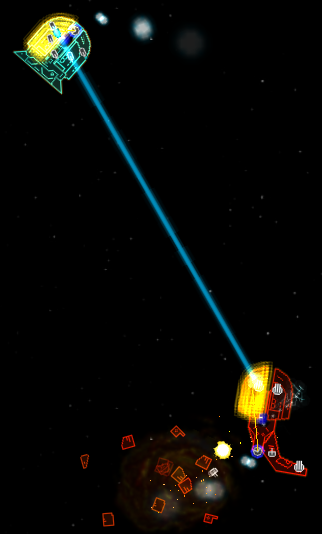
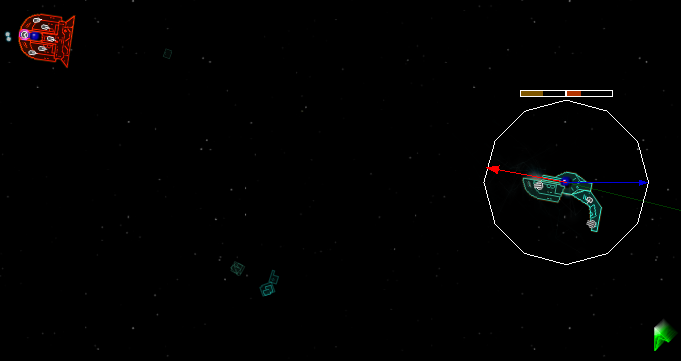
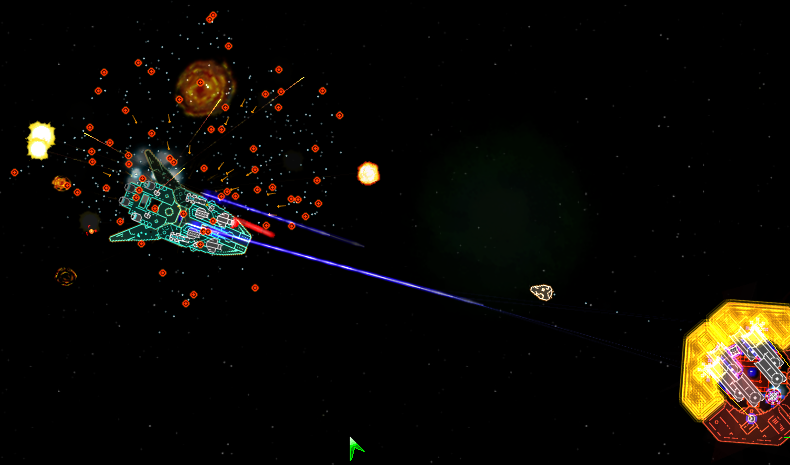
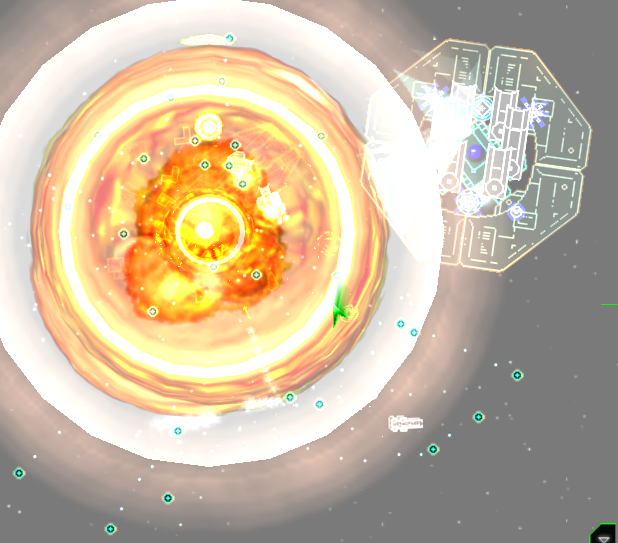
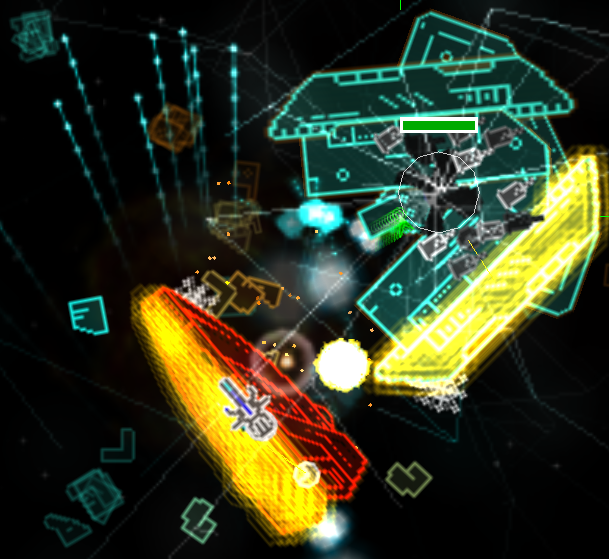
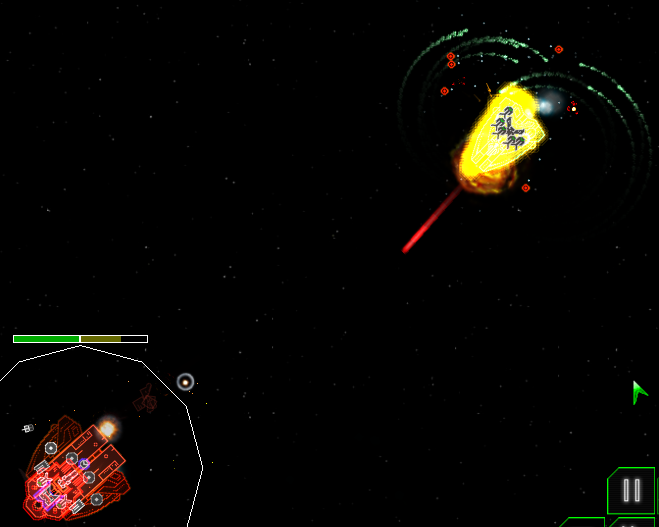
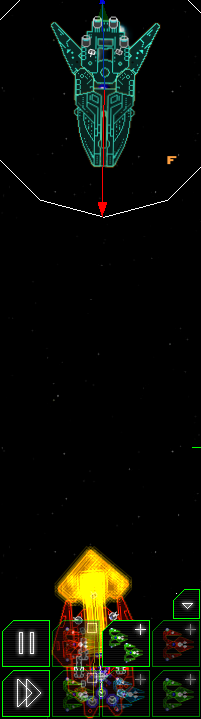
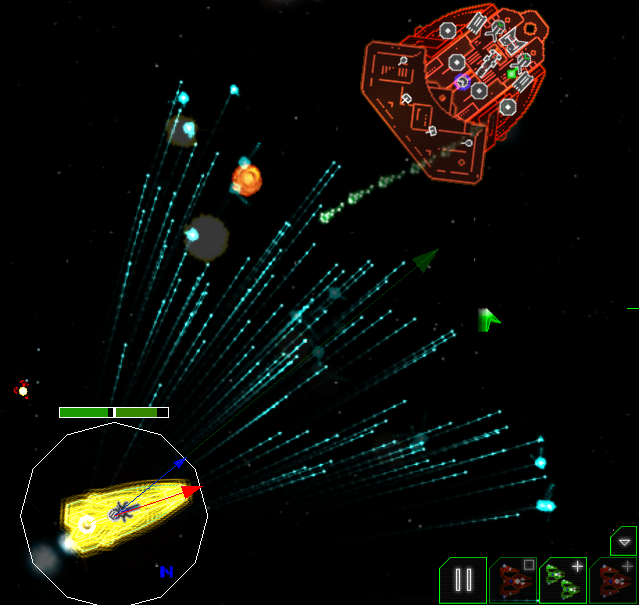
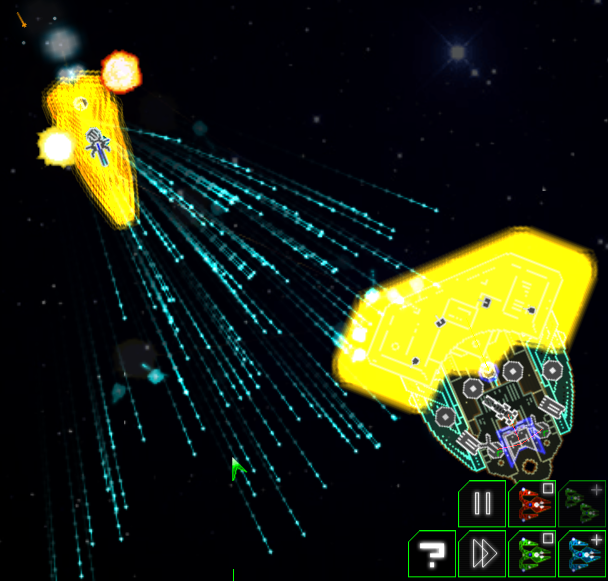
At first, the Big Armoured Turd was nothing more than a huge wallowing target, an easy mark for the Obfuscation's battery of weasel guns, T.B.A.T.'s drones harmlessly hitting the Obfuscation's two shielded sections...
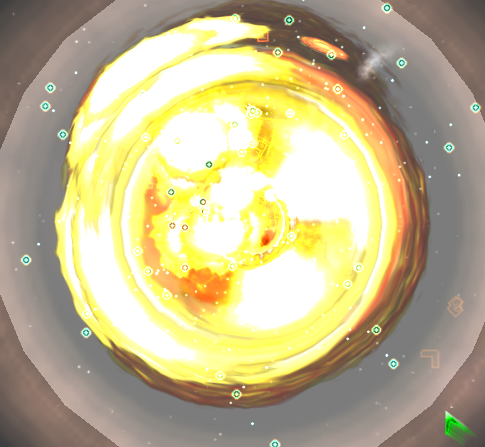
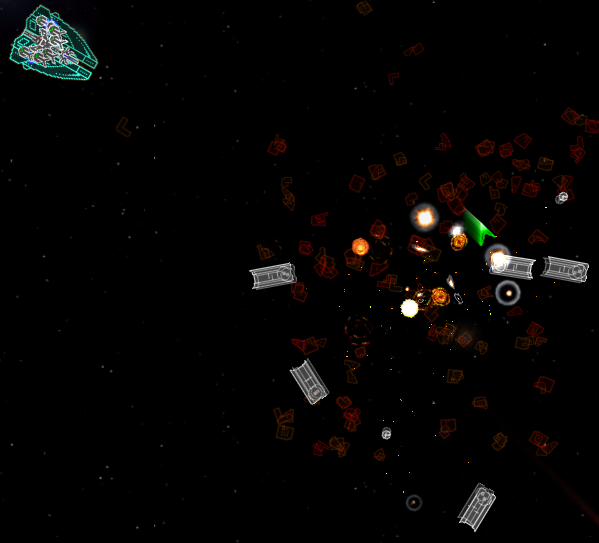
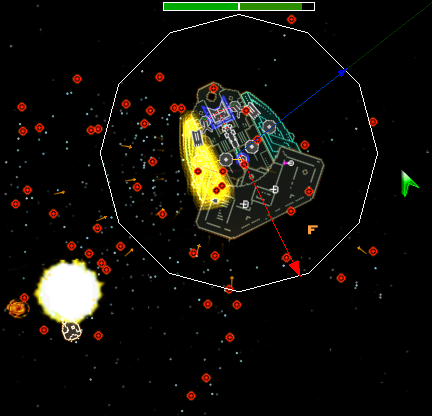
Unfortunately for the Obfuscation, just when it looked like the battle was very much in it's favour, the Demeters were able to blow off not just one, but both of the Obfuscation's deflector modules (I ran this fight several more times in an unofficial capacity, just to make sure it wasn't a fluke, and the same thing always happened), leaving the ship vulnerable to the incoming fire...
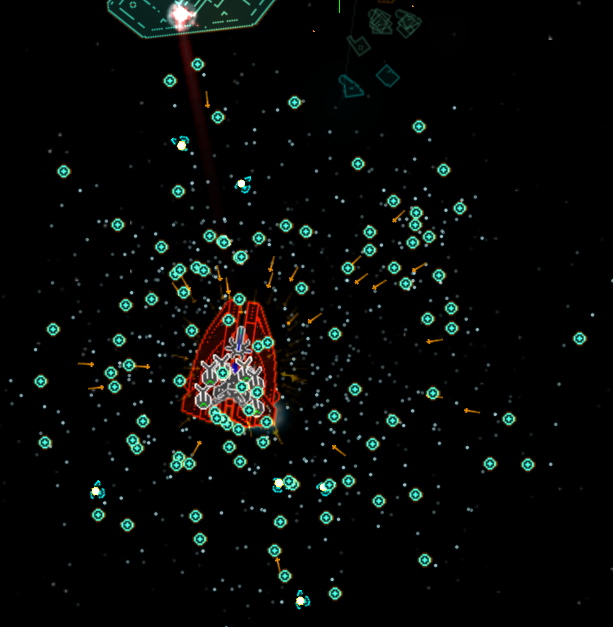
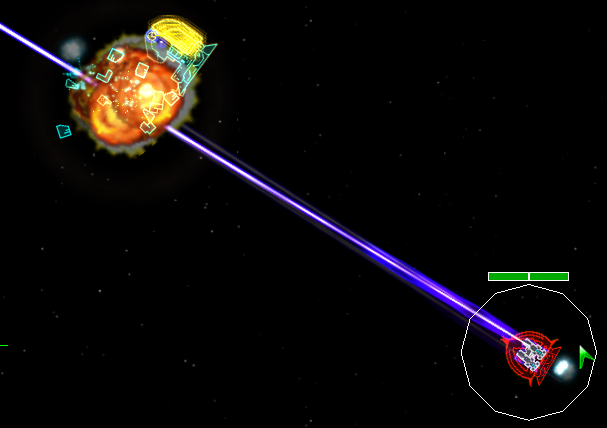
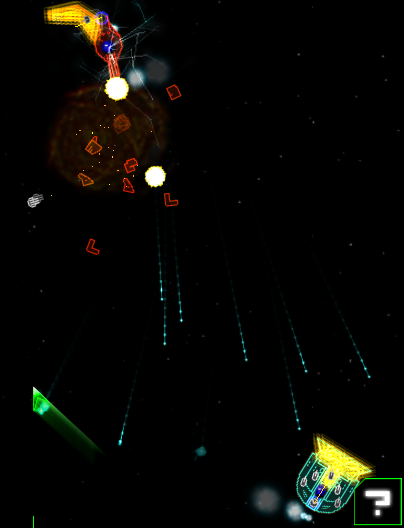
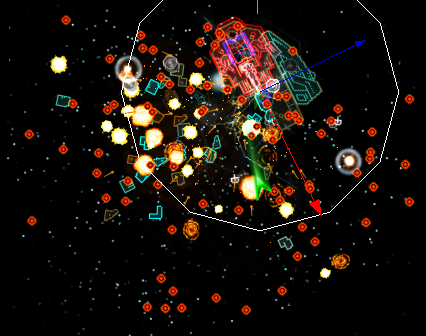
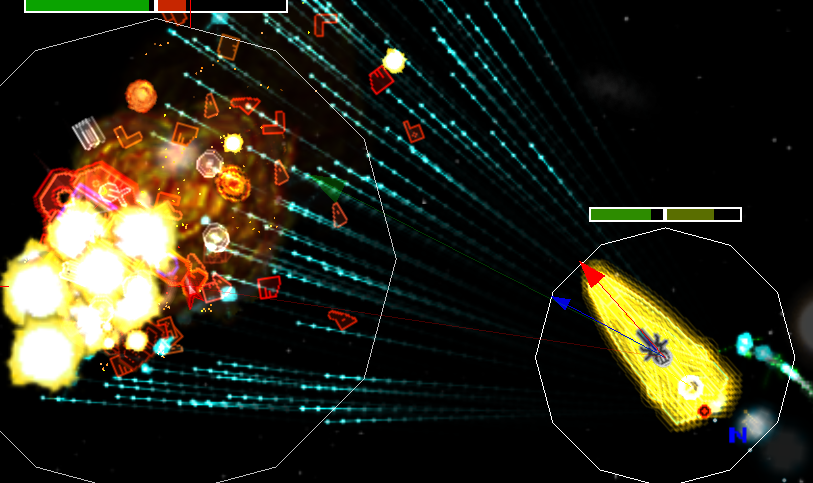
...and it wasn't long before the Obfuscation was taken apart...
Round 2:
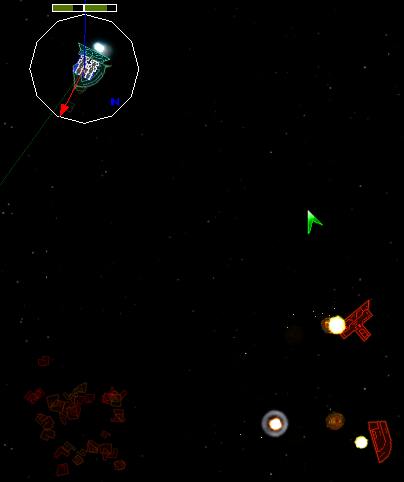
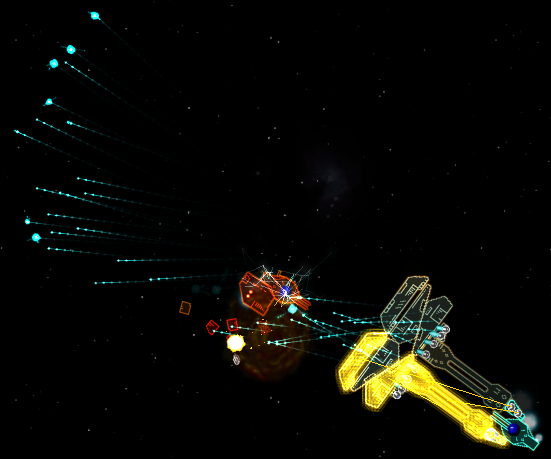
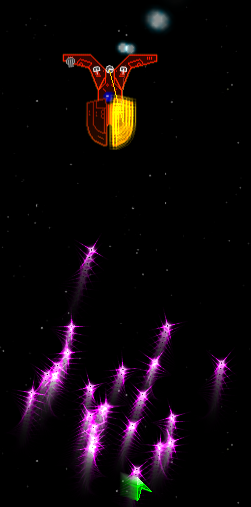
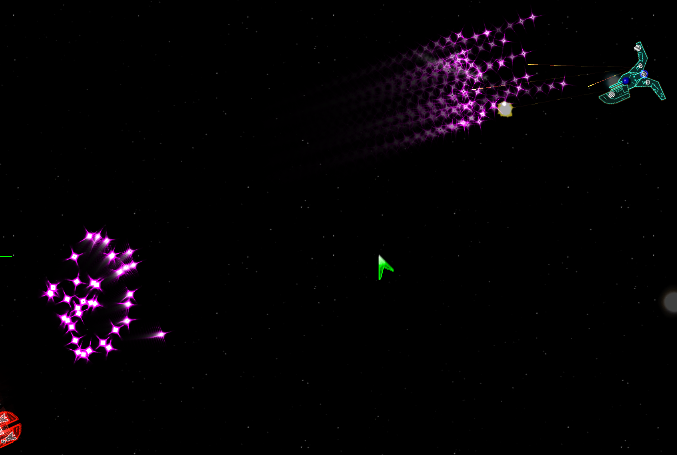
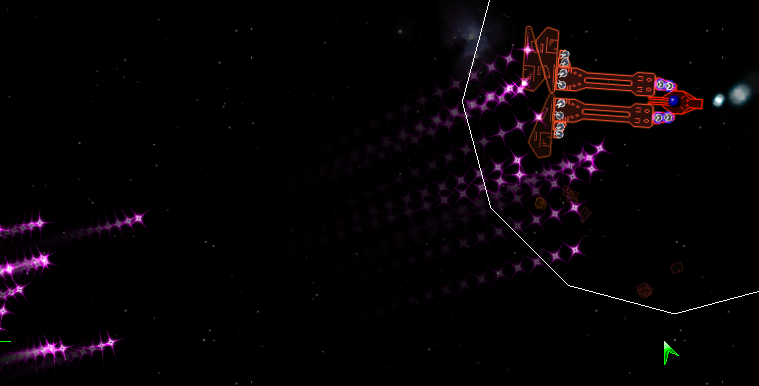
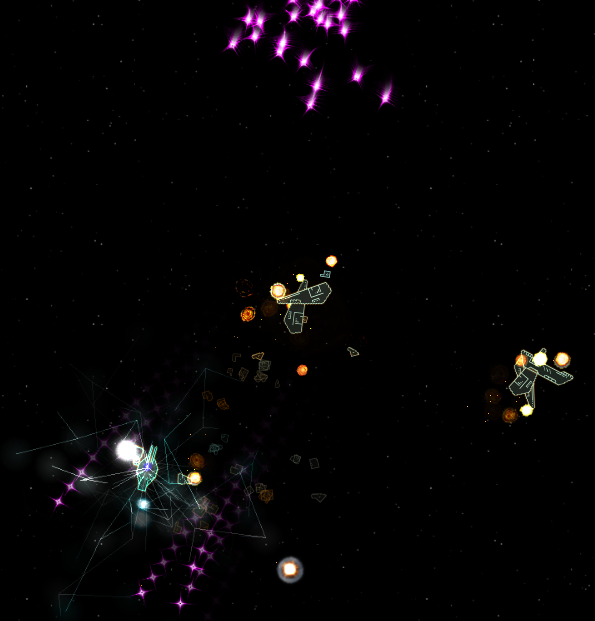
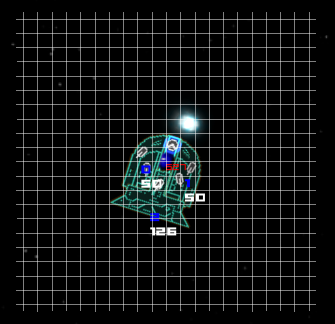
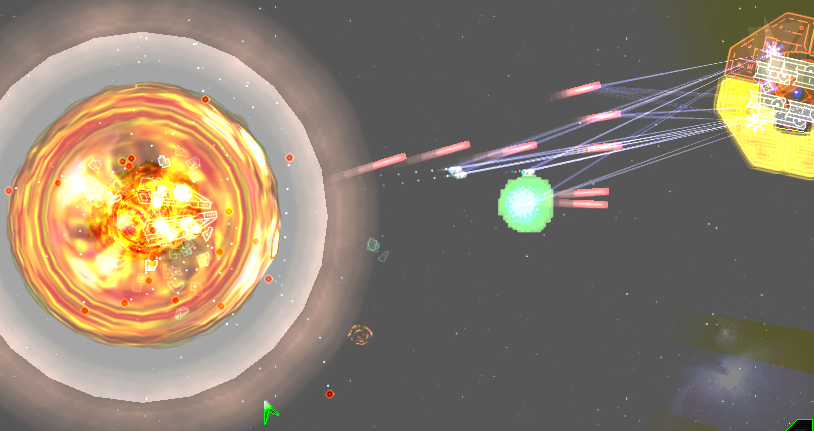
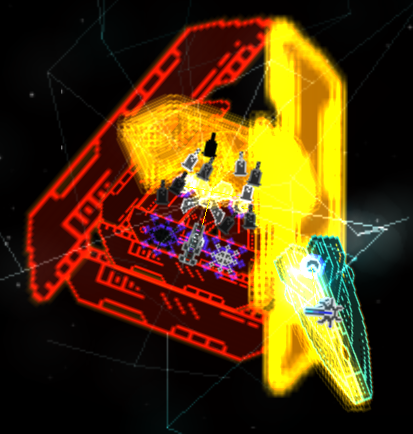
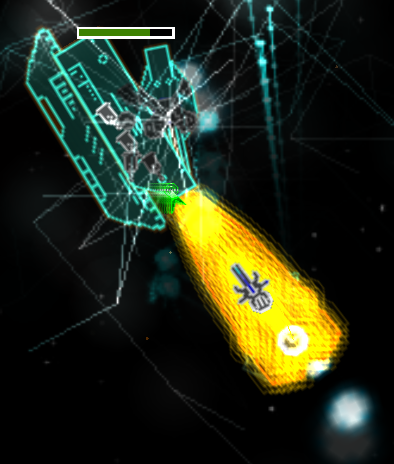
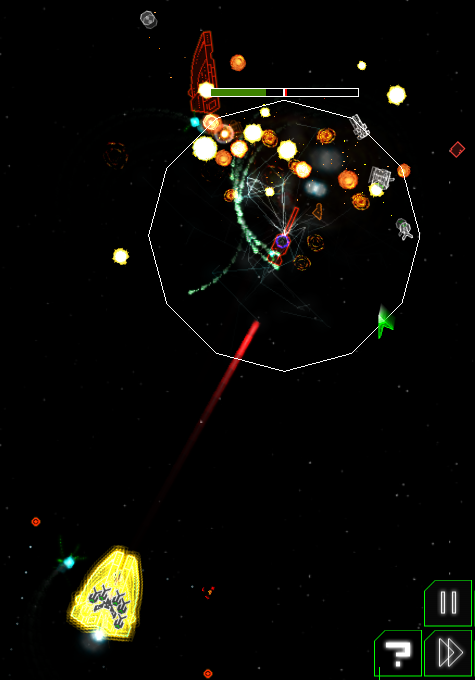
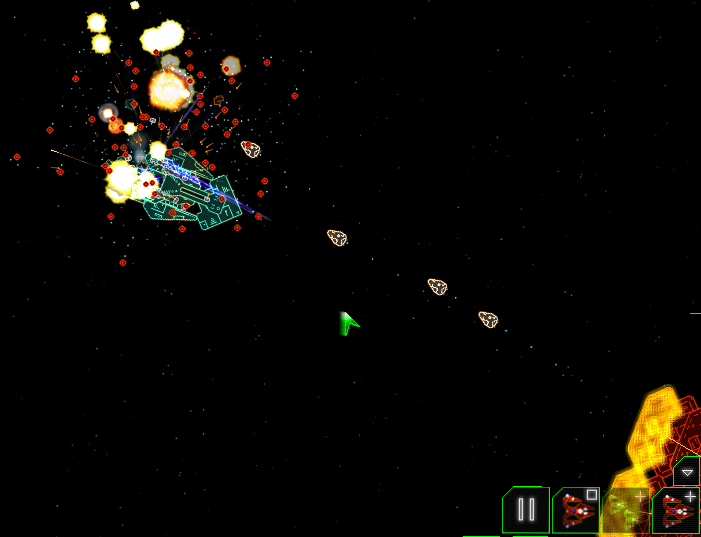
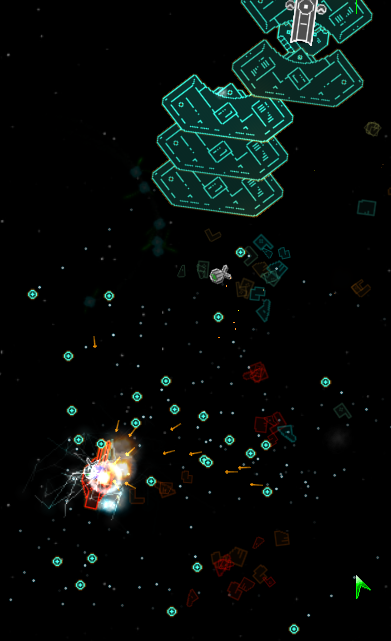
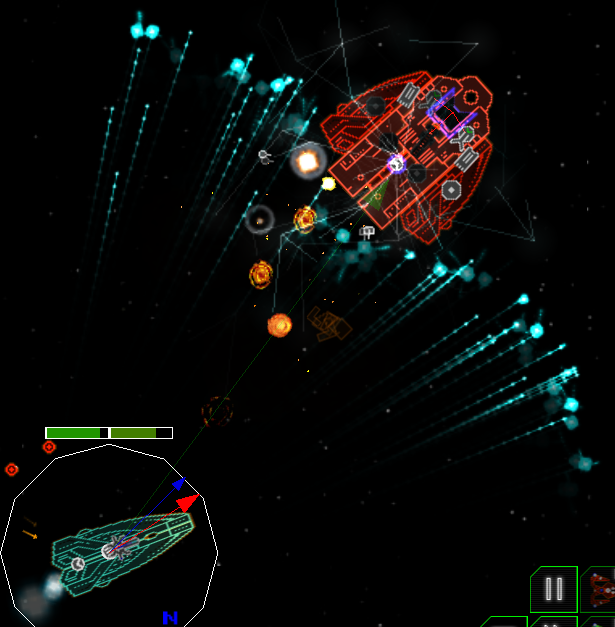
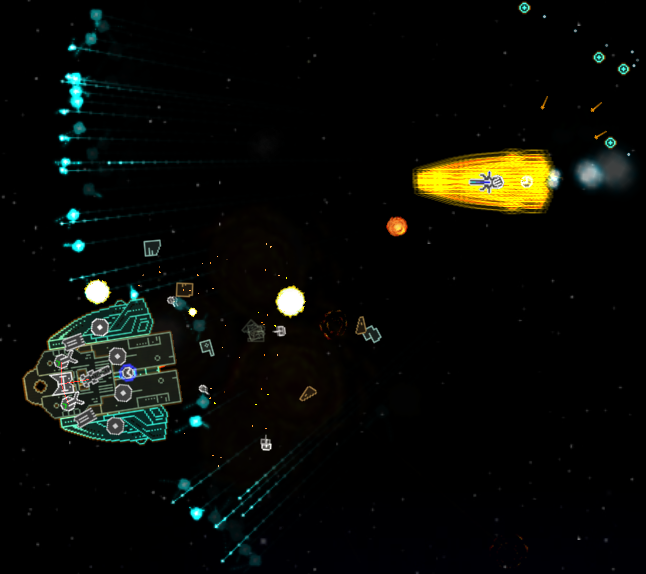
I was met with a surprising result in round 2. Rather than lose its deflectors to T.B.A.T.'s drones, as it does when spawned as an enemy, the Obfuscation instead lost its tiny sections, which were put in place so as to avoid breaking the 'one deflector every three sections' rule. The Obfuscation did rather stupidly reassign one of its two deflectors to one of these sections, but it was too late for T.B.A.T. to take advantage as it was sent into a hullshock...
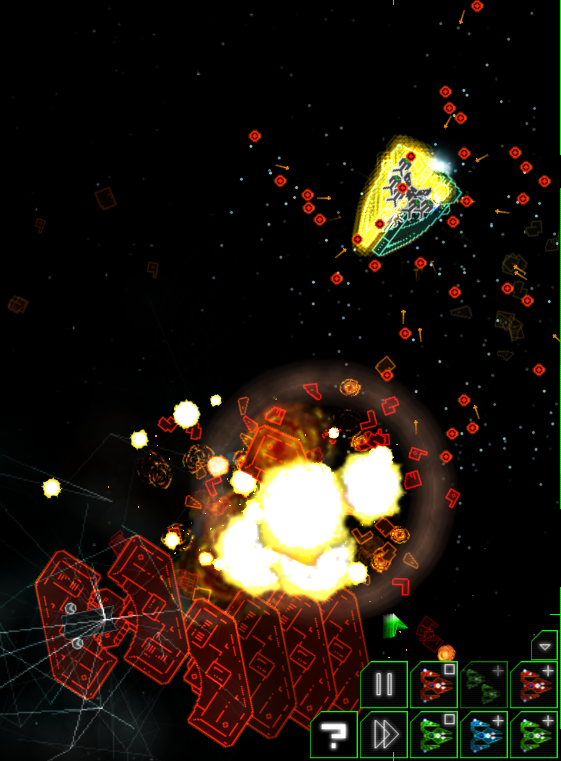
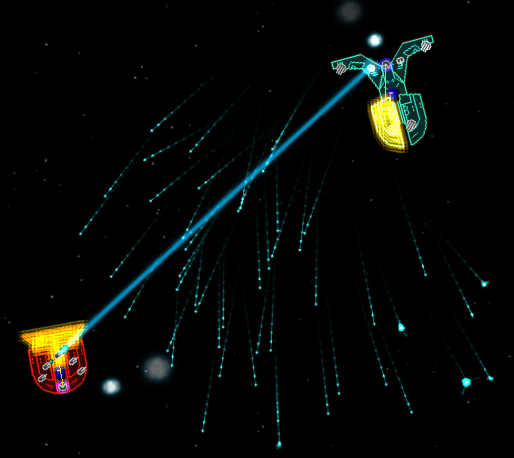
...and then another...
...before being ripped to shreds by the Obfuscation's weasel guns...
Well, now this is a problem. I really had hoped it wouldn't come to this... But the faction really does determine the outcome of the fight in this case. I tried over and over again, always with the same result. If T.B.A.T is spawned as an ally and the Obfuscation III is spawned as an enemy, T.B.A.T. always wins. However, if I reverse with the situation, with the Obfuscation III as the ally and T.B.A.T. as the enemy, the Obfuscation always wins. This means that the method I have chosen to tiebreak fights (tossing a coin to determine who is the ally and who is the enemy) would effectively be determining the outcome of the fight on the toss of a coin, which I think we call all agree is hardly fair.
I had to find some way to separate the two, however, so I improvised a series of tests. Whomever won the most tests would be declared the winner:
The 'player ship' test:
First, I spawned each ship under player control, and its opponent under enemy control, to see if the ship could beat its opponent if I controlled it.
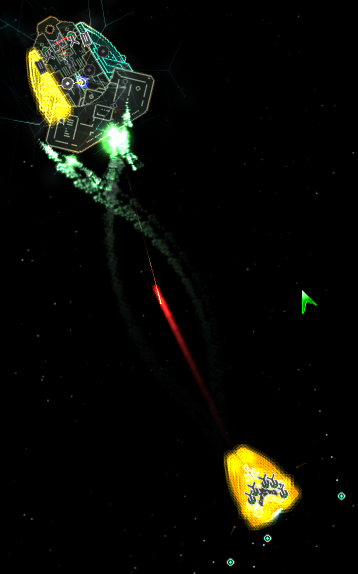
First, the Big Armoured Turd. Since it barely moves, I didn't really have to distinguish between controlling it myself and setting it to attack the Obfuscation and letting the AI control it, as I would always have to control the ship's Demeter launchers anyway.. I found that the Turd's Demeter drones, like when T.B.A.T. was spawned as an enemy, always blew off the Obfuscation's deflectors and destroyed the ship.
However, when I spawned the Obfuscation under player control, it demolished T.B.A.T., whether I micromanaged it or I simply set it to attack T.B.A.T. and sat back and watched.
Test 1: Draw
The 'gunship test':
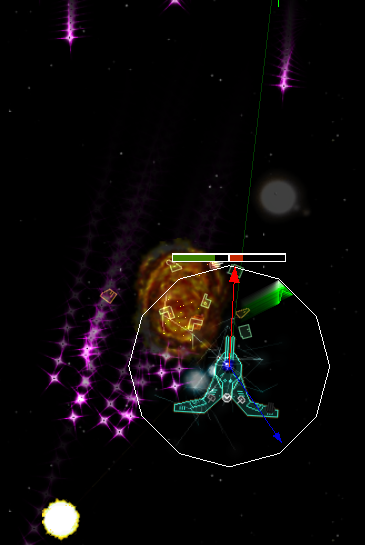
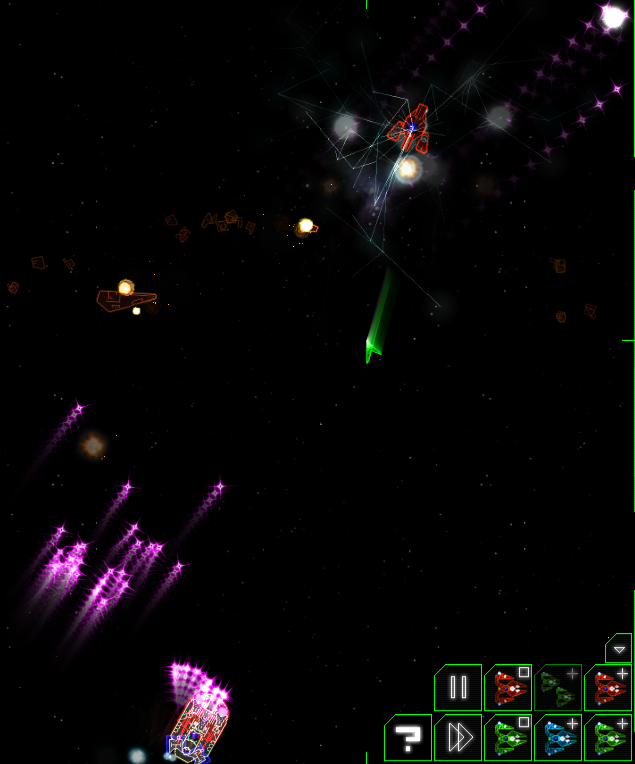
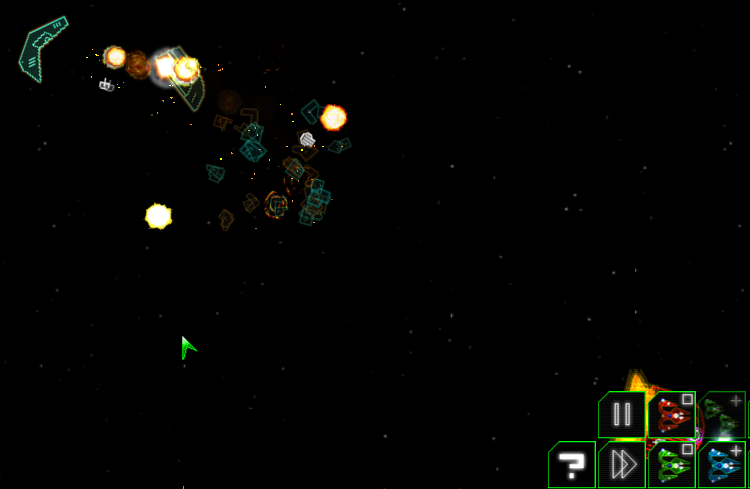
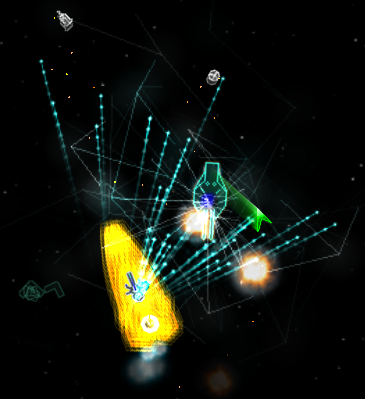
This test, first invented by Pwhk to test the balance of canon ships, involves spawning the ship to be tested and pitting it against ever larger waves of pirate gunships ('normal enemy' #5), starting with just the one, and then increasing the number of gunships by one each wave. Each time the ship being tested managed to destroy an entire wave, it would be awarded one point. If the ship being tested was destroyed, the ship would be awarded fractional points for the wave in question...
For example, if the ship being tested reached wave six (with six pirate gunships) and was then destroyed, but had destroyed 3 of the 6 gunships and 'damaged' (a gunship counts as damaged it has lost a third of its right side health bar or at least one of its blasters, a gunship with no blasters left counts as destroyed) 2 more, the ship would be awarded 5 (for destroying the first five waves) and 4/6 (or 2/3) points...
Pwhk considered the canon ships to be balanced if they were able to rack up 1 point for patrol ships, 2 points for destroyers and 3 points for battleships, respectively. This test is also a fun way to test the ships entered into any given tournament, with the ship that destroys the most gunships winning.
Note: The gunships are spawned in a particular formation. The first gunship is spawned a decent distance from the ship to be tested, and subsequent gunships are spawned either side of it, until there are five gunships in a row, at which point the first row is moved closer to the ship to be tested and a second row begins to take shape.
Also note: A ship is towed back to the point at which it started (or at least, fairly close to it) using a number of special tow ships called 'crackers' (for their cracker like appearance) after each wave. A ship is allowed to repair any damaged sections back to half HPs (or full HPs if the design is lucky enough to include a nano matrix) and all modules on a ship are allowed to fully recharged.
So anyway, I tested both T.B.A.T. and the Obfuscation using this method. Here are the results...
The Big Armoured Turd:
Note: Because I have to freeze the ships as I set up the gunships' formation, this means that T.B.A.T. is behaving slightly different from when it fights the Obfuscation one-on-one (a fight in which no ship freezing is necessary, obviously), firing all of its Demeter pods at once in a great clump instead of in a 'gatling gun' style as it does normally...
vs 1: Gunship destroyed
vs 2: Gunships destroyed
vs 3: Gunships destroyed
vs 4: Gunships destroyed
vs 5: Gunships destroyed
vs 6: Gunships destroyed, B.A.T. 3 port armour sections destroyed
vs 7: Gunships destroyed, B.A.T. 2 port and 3 starboard amour sections destroyed
vs 8: Gunships destroyed, B.A.T. all remaining armour sections destroyed
vs 9: B.A.T. destroyed, 4 gunships destroyed, 2 gunships damaged
Score: 8 5/9 points
T.B.A.T. suffered from serious deflector placement issues almost every wave. It probably would have lasted a lot longer otherwise...
Obfuscation III:
vs 1: Gunship destroyed
vs 2: Gunships destroyed
vs 3: Gunships destroyed
vs 4: Gunships destroyed
vs 5: Gunships destroyed
vs 6: Gunships destroyed, Obfuscation III 1 extraneous section destroyed
vs 7: Gunships destroyed
vs 8: Gunships destroyed
vs 9: Gunships destroyed, Obfuscation III starboard section and 1 extraneous section destroyed
vs 10: Obfuscation III destroyed, 1 gunship destroyed, 2 gunships damaged
Score: 9 1/5 points
Lady luck was most definitely on the Obfuscation III's side today. If not for some lucky deflector placement and such, she could have been destroyed a lot sooner...
Test 2 winner: Obfuscation III
The 'raider test':
Another balance test designed by pwhk. This test is identical to the 'gunship test', except that it uses alien raiders ('normal enemy' #14) instead of pirate gunships...
The Big Armoured Turd:
vs 1: Raider destroyed
vs 2: Raiders destroyed
vs 3: Raiders destroyed
vs 4: Raiders destroyed
vs 5: Raiders destroyed
vs 6: Raiders destroyed
vs 7: Raiders destroyed
vs 8: Raiders destroyed
vs 9: Raiders destroyed
vs 10: B.A.T. destroyed, 9 raiders destroyed
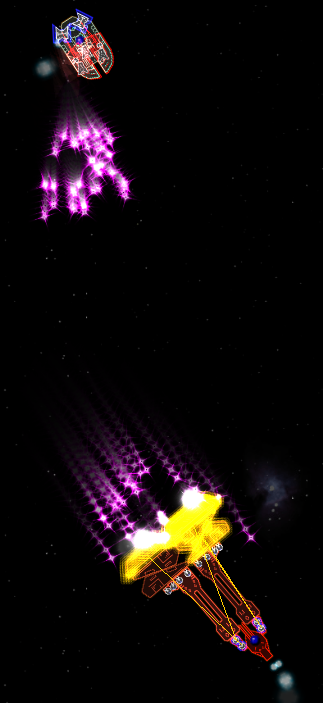
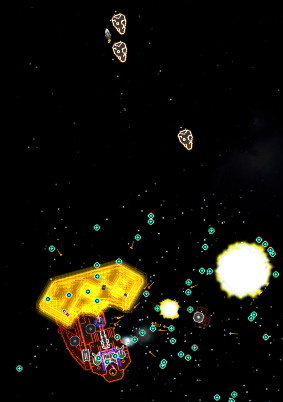
With the raiders being flankers, and T.B.A.T. such a big target, it was only a matter of time before they took out that critical section in the ship's rear... The Demeters were able to tear the raiders apart pretty fast, as they had done with the gunships before them, but once there were enough raiders that some were able to pick up speed before they could be attacked, it was again, only a matter of time...
Score: 9 9/10 points
Obfuscation III:
vs 1: Raider destroyed
vs 2: Raiders destroyed
vs 3: Raiders destroyed
vs 4: Raiders destroyed
vs 5: Raiders destroyed
vs 6: Raiders destroyed
vs 7: Raiders destroyed
vs 8: Raiders destroyed
vs 9: Raiders destroyed, Obfuscation III 1 extraneous section destroyed
vs 10: Raiders destroyed
vs 11: Raiders destroyed
vs 12: Raiders destroyed
vs 13: Obfuscation III destroyed, 1 raider destroyed, 10 raiders damaged
The Obfuscation had a few lucky deflector escapes and did some good work with its quad blaster. In the end, the Obfuscation was only overwhelmed by sheer force of numbers...
Score: 12 6/13 points
Test 3 winner: Obfuscation III
It's interesting that despite operating on completely different design principles, the overall combat capabilities of the Obfuscation III and the Big Armoured Turd are virtually inseparable. However, in the end I call this fight in favour of the Obfuscation III. It fared better in my tests than the Big Armoured Turd did.
Winner by default: Obfuscation III
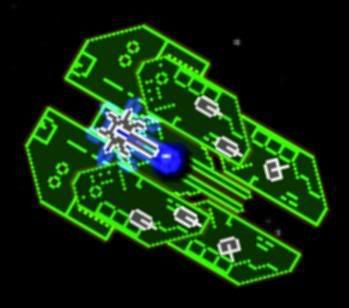
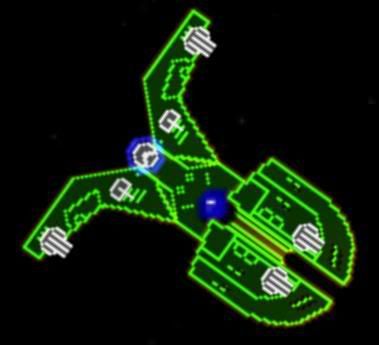
Carbon vs Scorpion:
Round 1:
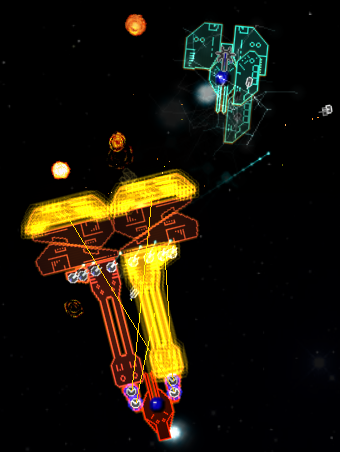
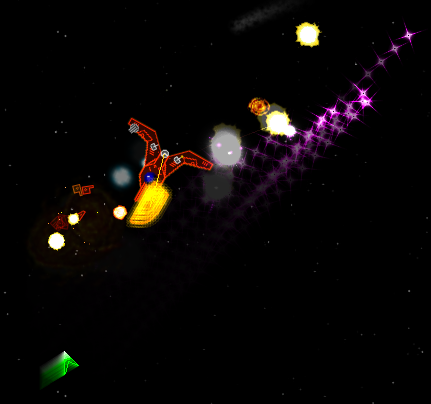
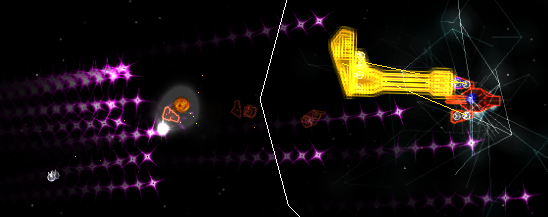
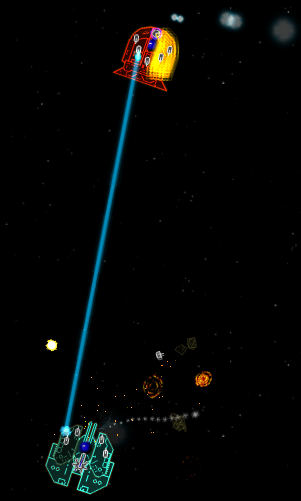
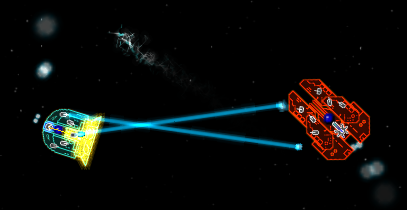
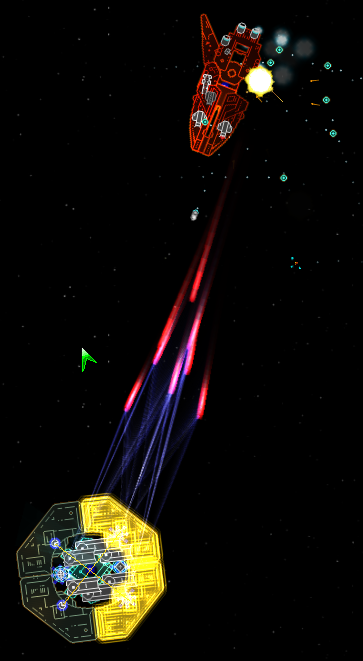
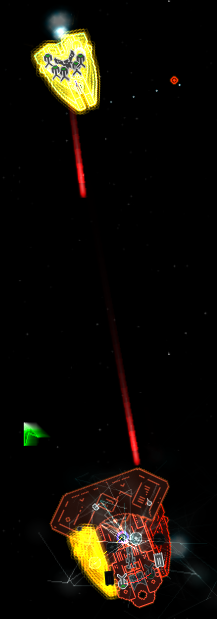
The Scorpion strafed the Carbon at first, making it impossible for the Carbon to hit anything except the Scorpion's port wing...
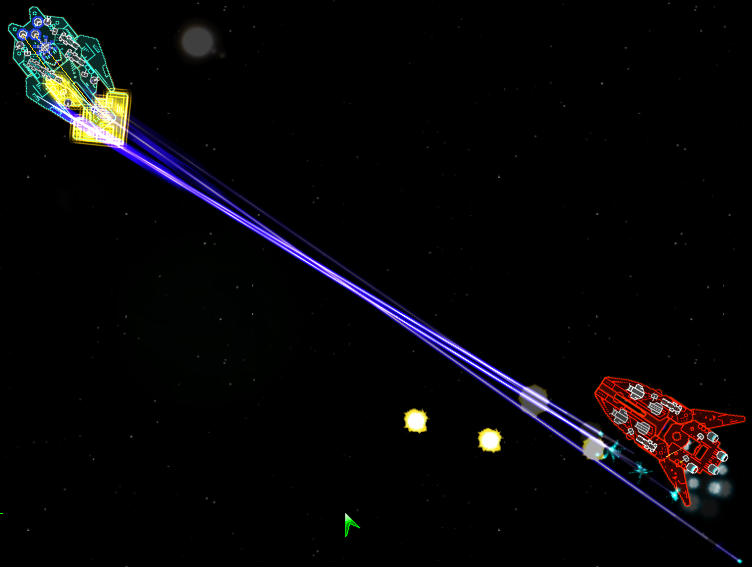
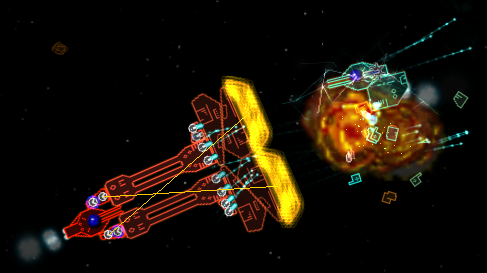
That was until the ships hit the edge of the map. The Scorpion soon found its weapons being sniped off by the Carbon's railguns...

And was unable to return to favour, its own weapons either being intercepted by the Carbon's flak guns or else just striking uselessly against the Carbon's deflected forward armour sections. In the end, the Scorpion was completely detoothed. This alone would have secured victory for the Carbon, but eventually the Carbon did finish the Scorpion off, despite the latter's stubbornly strong hull...

Round 2:
The fight went no differently round 2, save for the fact that the Carbon was able to take an early lead before the Scorpion had started moving...
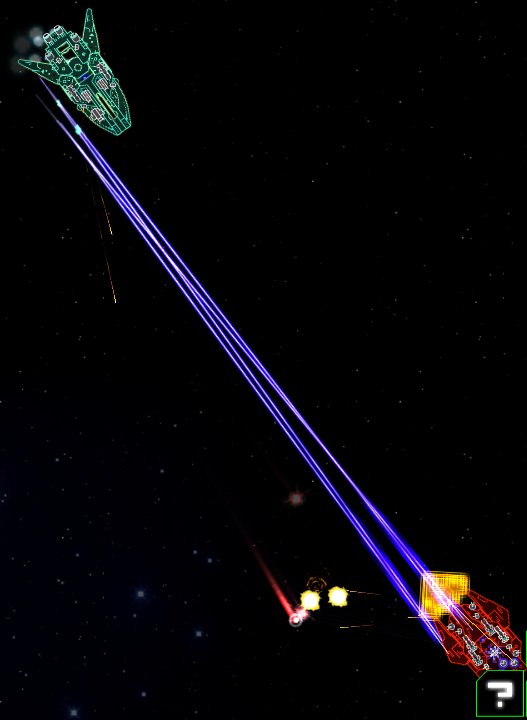
Once again, the two ships hit the wall and it wasn't long before the Scorpion's weapons were being sniped off...
...And were soon gone completely...
 Winner: Carbon
SCOTLAND vs Swarm Station:
Winner: Carbon
SCOTLAND vs Swarm Station:
Round 1:
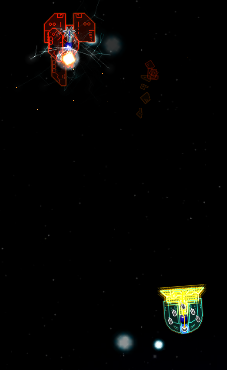
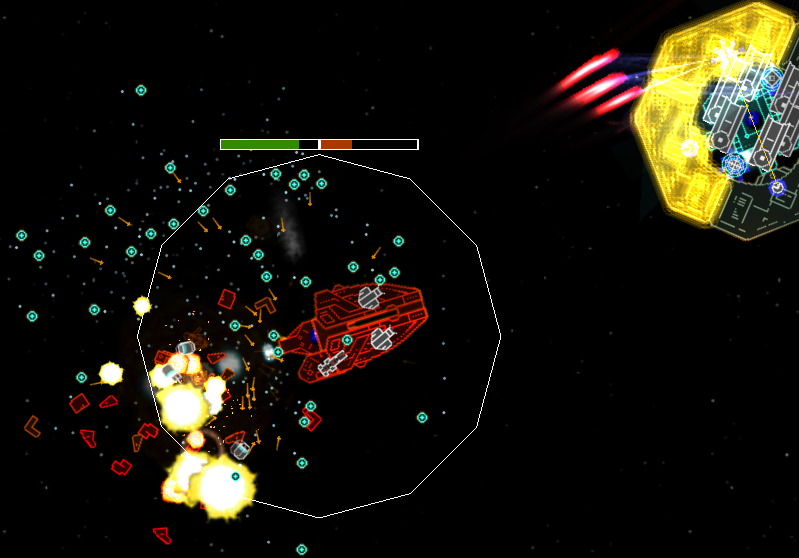
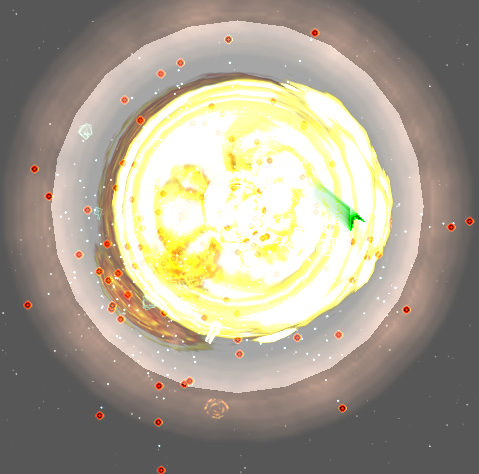
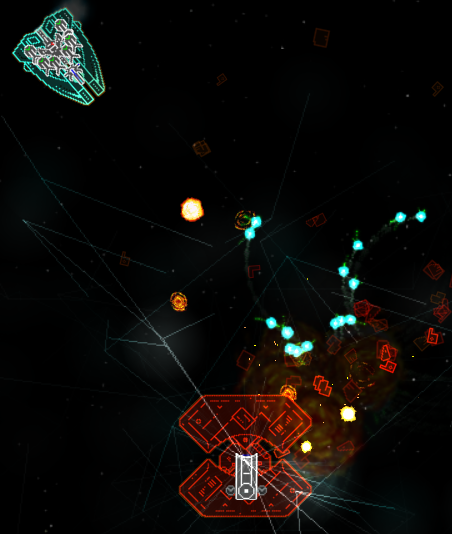
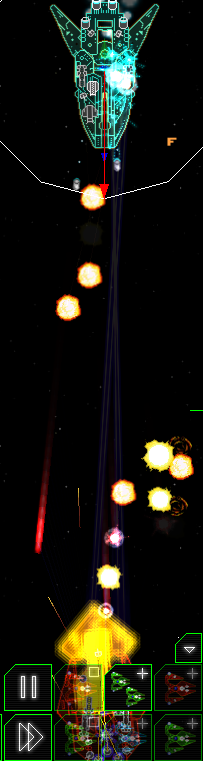
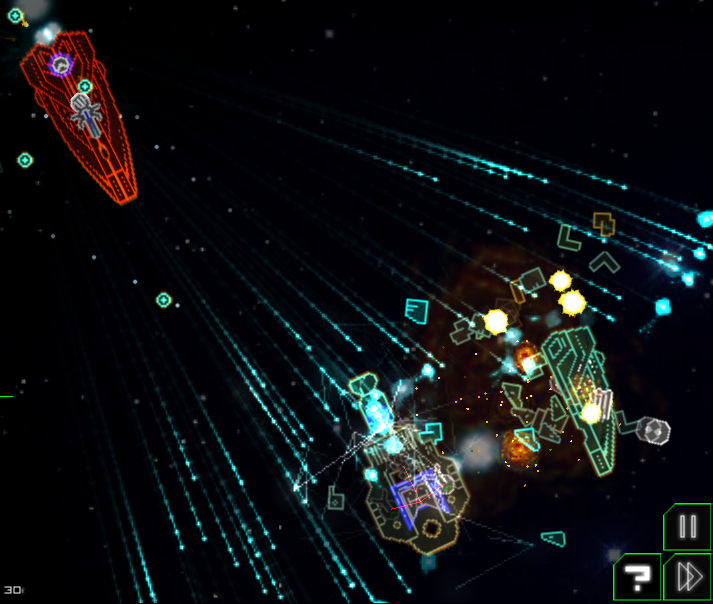
If the Scorpion did badly against the Swarm Station, the SCOTLAND did even worse. None of its weapons were even able to get close to the Station due to its impeder modules. Like the Scorpion before it, the SCOTLAND was quickly surrounded...
...and torn to shreds...
Round 2:
In an attempt to be a gracious host, I spawned the SCOTLAND closer to the Swarm Station this time. However, in the end the SCOTLAND, like the Scorpion before it, didn't really stand a chance. Once again surrounded...
...and once again destroyed...
 Winner: Swarm Station
Bullete vs SCOTLAND:
Winner: Swarm Station
Bullete vs SCOTLAND:
Round 1:
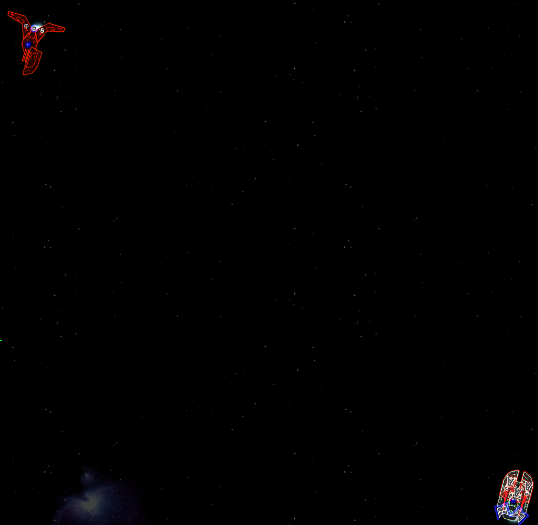
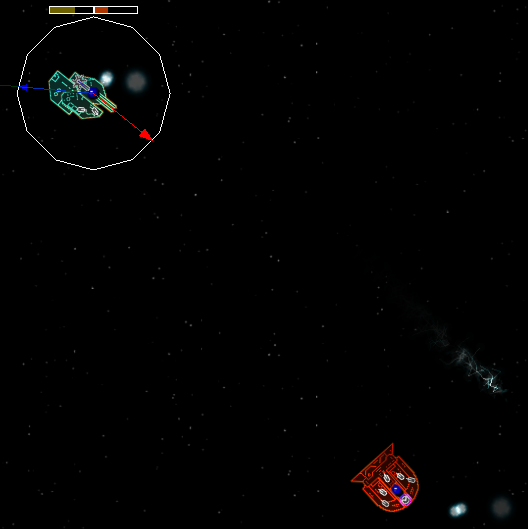
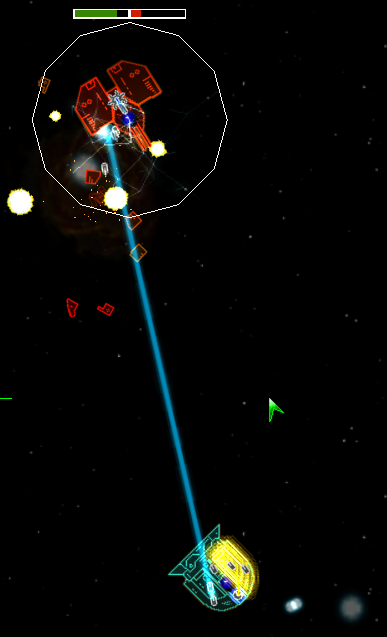
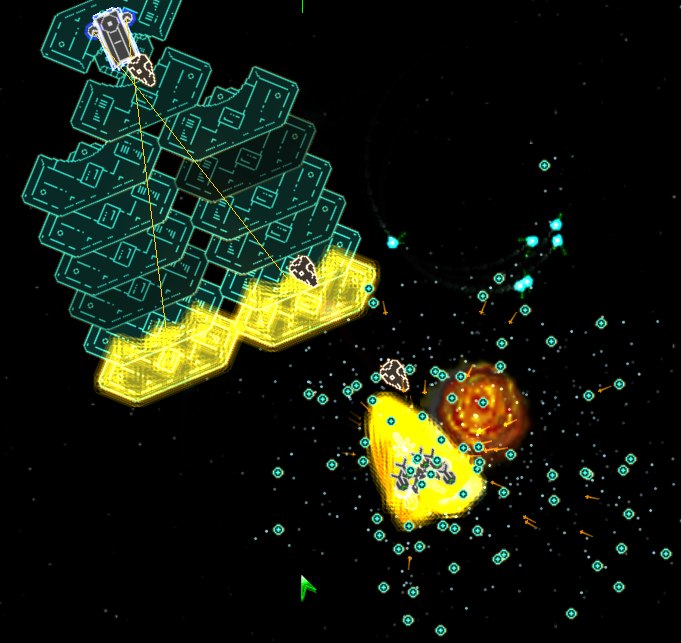
The Bullete was very slow in raising its deflectors, and almost lost its Frosch gun because of it. Eventually it did raise its deflectors and managed to close with the SCOTLAND, but it looked like the latter was holding all the cards. The Bullete couldn't even hit the SCOTLAND at first...
The two ships proceeded to pound each other's deflectors. The Bullete got a lucky break just as its deflectors failed, disabling the SCOTLAND with its Frosch gun. Eventually the Bullete managed to cut through the SCOTLAND's large piece of frontal armour...
And from there it was a cake walk for the Bullete, the SCOTLAND unable to stop its seconds from being ripped apart under intense pulse gun fire...
Round 2:
The Bullete was quicker on one of the deflector triggers this time, but it took a while before it raised its second. When the Bullete caught up to the SCOTLAND, the SCOTLAND had only just raised its deflectors, whereas the Bullete had had its raised for a while...
Once again, however, the Bullete was lucky enough, right when its deflectors failed, to disable the SCOTLAND with its Frosch gun...

It wasn't long before the Bullete took the advantage and plowed its way through the SCOTLAND's armour...
...and the rest of the ship soon after...
 Winner: Bullete
Cruiser standings after round 2:
Wins-losses:
Winner: Bullete
Cruiser standings after round 2:
Wins-losses:
Bullete: 2-0
Obfuscation III: 2-0
Swarm Station: 2-0
Big Armoured Turd: 1-1
Carbon: 1-1
Phoebus: 0-1
Scorpion: 0-2
SCOTLAND: 0-3
Tomorrow's fights:
Big Armoured Turd vs Swarm Station
Carbon vs Phoebus
Bullete vs Scorpion
Big Armoured Turd vs Bullete